
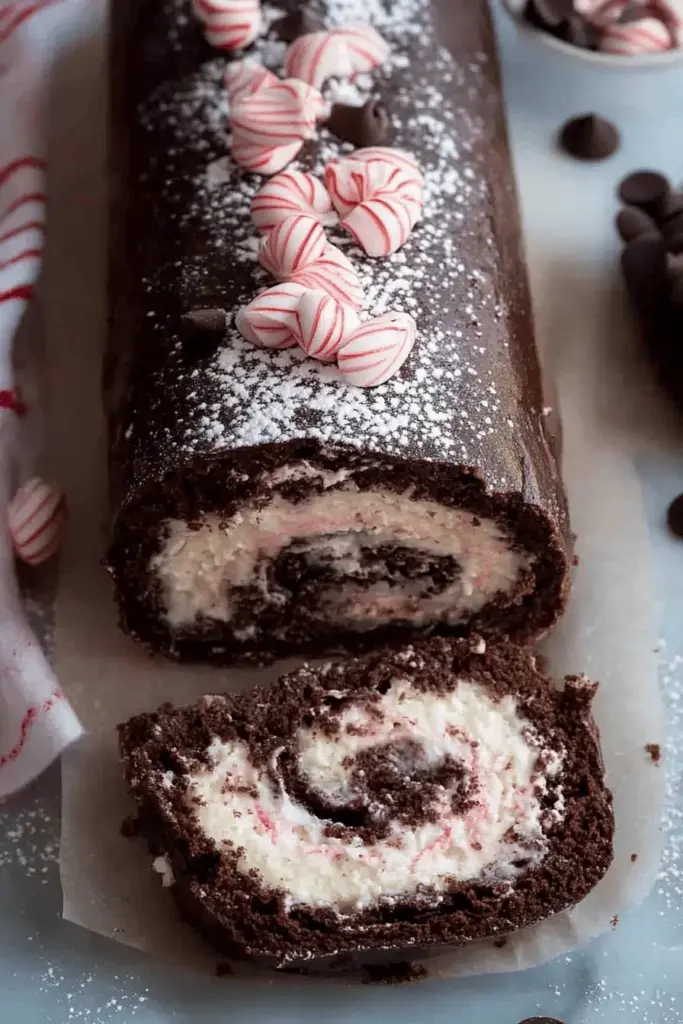
This festive chocolate peppermint cake roll is pure holiday magic! With its rich chocolate sponge, creamy peppermint filling, and glossy ganache coating, it’s the showstopping dessert your Christmas table needs. Best of all? I’m sharing my fool-proof rolling technique that takes away all the stress of making a perfect spiral every single time.
I’ve been perfecting this recipe for years, and let me tell you – the combination of deep chocolate flavor, cool peppermint, and tangy cream cheese is absolutely irresistible. It’s like enjoying your favorite chocolate-mint candy in elegant cake form!
Why You’ll Love This Chocolate Peppermint Roll
- No powdered sugar-covered kitchen mess – my parchment paper method is genius!
- Rich chocolate cake that’s perfectly moist yet rolls beautifully
- Luxurious peppermint cream cheese filling that’s not too sweet
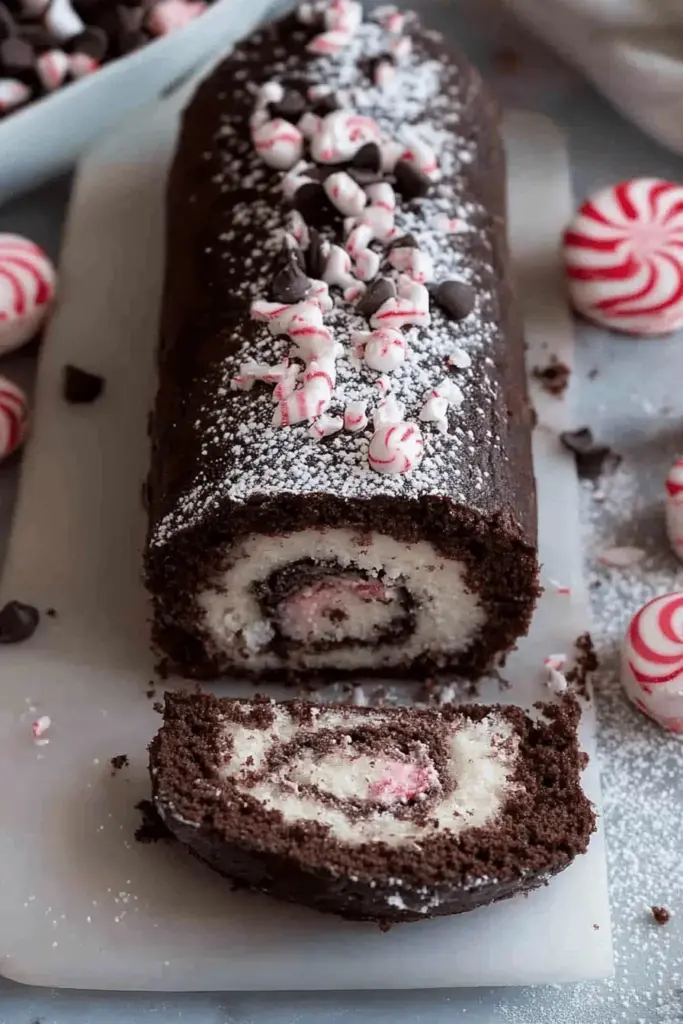
- Show-stopping ganache topping that hides any imperfections
- Make-ahead friendly – perfect for holiday entertaining
- Easier than it looks – I promise!
The secret to this cake’s success lies in the details. The chocolate sponge is light yet sturdy enough to hold that luscious peppermint cream cheese filling. And unlike other recipes that have you wrestling with sugar-coated tea towels, my method uses simple parchment paper to create that perfect spiral.
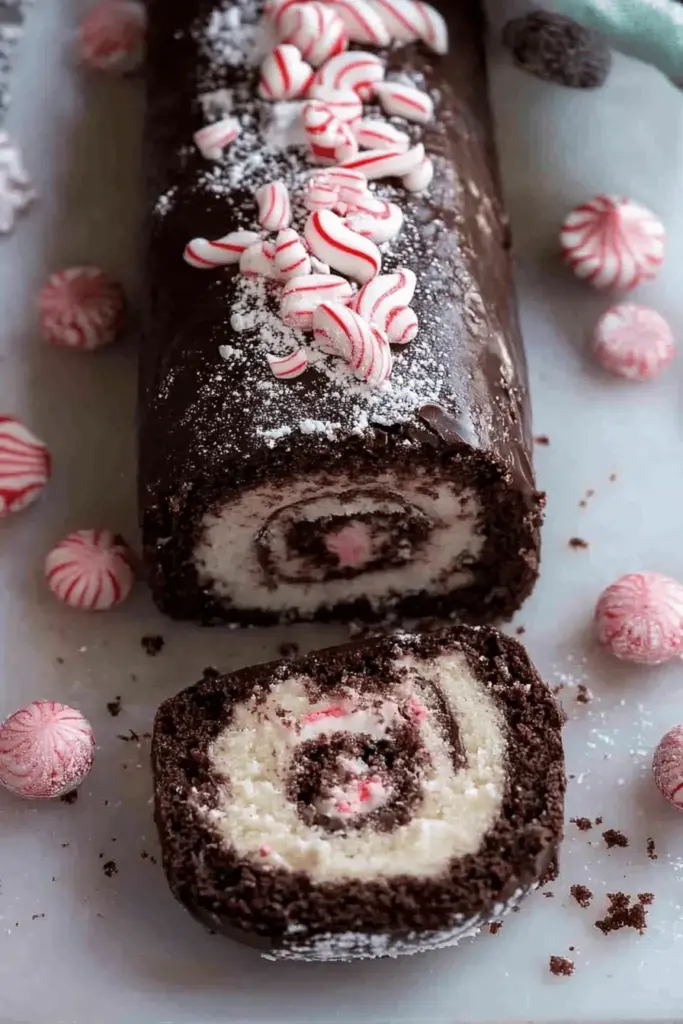
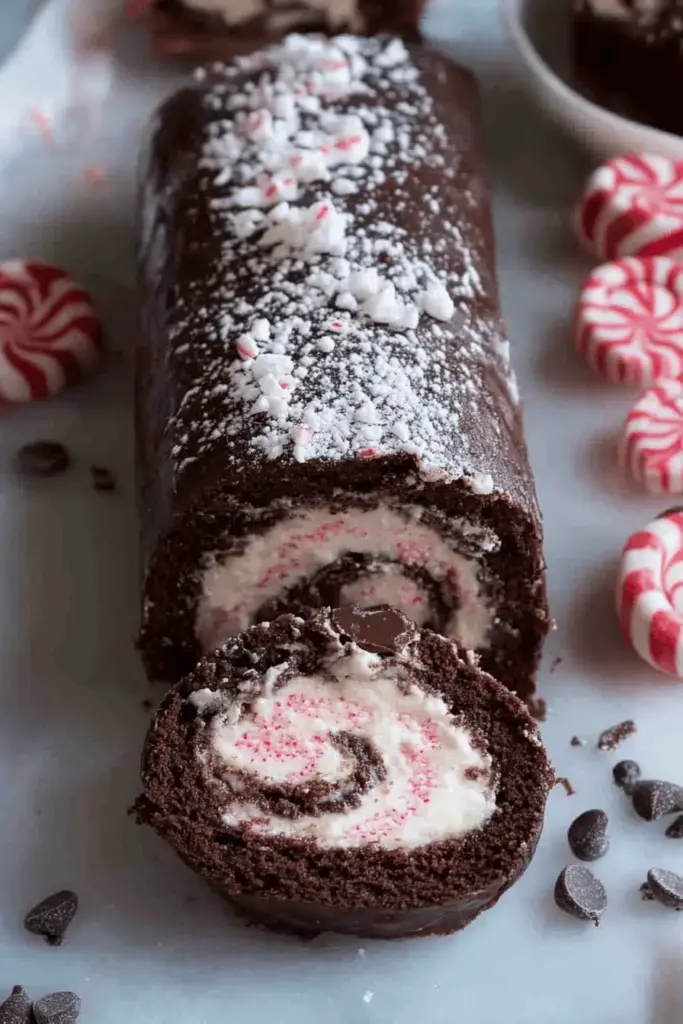
The crushed candy cane pieces add such a festive touch, creating a beautiful contrast against the dark chocolate ganache. Plus, that extra crunch and burst of peppermint? Absolutely heavenly! Every bite is the perfect balance of rich chocolate, cool mint, and creamy filling.
Trust me on this one – while cake rolls might seem intimidating, this recipe is totally doable, even for beginners. I’ve included every tip and trick I’ve learned over years of testing to ensure your success. And just wait until you see your guests’ faces when you slice into this beautiful spiral!
Essential Ingredients: Building Your Perfect Roll
Let me walk you through the star players in this festive cake roll! Each ingredient plays a crucial role in creating that perfect spiral of holiday happiness.
- Eggs (separated) – The foundation of our light-yet-sturdy cake. The whites get whipped to create structure, while the yolks bring richness. Room temperature eggs work best here!
- Cocoa Powder – I prefer Dutch-process cocoa for its deep, intense chocolate flavor. Natural cocoa works too, but the color won’t be quite as dark. Make sure to sift it to prevent lumps!
- Cream Cheese & Butter – The dynamic duo that makes our filling irresistibly creamy. Don’t skimp on quality here – full-fat cream cheese creates that perfect tangy richness we’re after.
- Peppermint Extract – A little goes a long way! Start with the amount listed and adjust to taste. Quality matters – cheap extracts can taste artificial.
- Starlight Mints – These add such a festive crunch and pop of color! I like to crush some finely for the filling and leave others slightly larger for the topping.
Success Tips: Your Perfect Roll Every Time
After years of making this roll (and yes, having my share of cracks and mishaps!), I’ve discovered these game-changing tips:
- Temperature is everything – Your eggs need to be room temperature, and that hot cake must be rolled immediately. No exceptions! This prevents the dreaded crack.
- The one-minute rule – Let the cake cool in the pan for exactly one minute after baking. Any longer and it starts to stick; any shorter and it’s too fragile.
- Gentle but confident – When rolling, use a light touch but move with purpose. Hesitation leads to uneven rolls!
- Patience pays off – Those chilling times aren’t suggestions – they’re essential! Each cooling period allows the cake to set properly, making it easier to handle and slice.
- Filling finesse – Spread your peppermint filling evenly but not too thick near the edges. As you roll, it will naturally push toward the ends.
My favorite foolproof trick? Keep your parchment paper slightly longer than your cake – those extra inches give you better control while rolling. Trust me, this tiny detail makes a world of difference!
Step-by-Step Instructions: Creating Your Perfect Roll
Let’s break down this showstopper into manageable steps! I’ll walk you through exactly how to create this stunning dessert that’ll have everyone asking for seconds.
Making the Perfect Chocolate Cake Base
Start with your oven preheated to 375°F (190°C). The key to a perfect roll starts with the right pan prep – I use a 15×10 inch jelly roll pan lined with parchment paper that’s been greased and floured. This might seem like overkill, but trust me, you’ll thank me later!
For the cake batter, here’s my foolproof method:
- Beat those egg whites until soft peaks form, then gradually add sugar until you get stiff, glossy peaks
- In a separate bowl, beat egg yolks with vanilla until light and fluffy – about 3 minutes
- Combine your dry ingredients, then alternate adding them with water to the yolk mixture
- Gently fold the chocolate mixture into those beautiful egg whites – this is where the magic happens!
The Rolling Process – Your Key to Success
Here’s where my parchment paper method shines! After baking for 14-16 minutes (the cake should spring back when touched), let it rest for exactly 60 seconds. Then comes the fun part:
- Lift the hot cake (still on its parchment) out of the pan
- Starting at the short end, gently roll the cake up with the parchment inside
- Place on a wire rack – this prevents condensation from forming
- Let it cool completely, then chill for 30 minutes
Recipe Variations & Creative Twists
While this classic version is absolutely divine, I love helping bakers make recipes their own! Here are some of my favorite variations:
Filling Variations
- Double Mint: Add crushed Andes mints to the filling for extra chocolate-mint goodness
- White Chocolate: Mix in melted white chocolate with the cream cheese filling
- Coffee Lover’s: Add 1 teaspoon espresso powder to the ganache for a peppermint mocha twist
Make-Ahead Options
- Same Day: Complete the roll and refrigerate for up to 8 hours before serving
- Next Day: Make the roll and filling, but wait to add the ganache until serving day
- Freezer Friendly: Freeze the filled (but not ganached) roll for up to 2 months – thaw overnight in the fridge
Remember, these variations still need that crucial chilling time – it’s what ensures those picture-perfect slices that’ll make everyone think you bought this from a fancy bakery!
FAQs & Final Thoughts
Let me address some of the most common questions I receive about this festive cake roll!
Yes! You can prepare the entire roll up to 2 days in advance and store it covered in the refrigerator. For best results, wait to add the ganache until the day you plan to serve it. The cake also freezes beautifully (without ganache) for up to 2 months.
The most common cause of cracking is waiting too long to roll the cake after baking. Remember to roll it while it’s still hot – wait just 60 seconds after removing from the oven. Also, make sure your eggs were at room temperature before starting.
While peppermint is perfect for the holidays, you can absolutely experiment! Pure vanilla extract creates a classic chocolate roll, or try almond extract for a sophisticated twist. Just remember that peppermint extract is quite strong, so you might need to adjust quantities with other flavors.
Use a sharp, clean knife and wipe it between each cut. For picture-perfect slices, dip your knife in hot water and dry it before each cut. Make sure the roll is well-chilled – at least 1 hour in the refrigerator after adding the ganache.
Final Thoughts
You know what makes my heart so happy? Seeing your beautiful cake rolls! Every time someone sends me a photo of their creation, I get just as excited as when I made my first successful roll. This recipe might seem fancy, but I promise you can do it!
The key is trusting the process and giving yourself grace – even if your first roll isn’t perfect, it’ll still taste amazing. That’s the beauty of the ganache topping – it covers any little imperfections!
Remember to tag me in your creations on social media – I absolutely love seeing your holiday baking adventures! And if you’re feeling confident after mastering this roll, try my Pumpkin Roll or Classic Vanilla Swiss Roll next. Happy baking, friends! 🎄✨

Chocolate Peppermint Cake Roll
Equipment
- 15 x 10-inch jelly-roll pan Greased and lined with parchment paper
- Large bowl
- Medium bowl
- electric mixer
- Wire cooling rack
- saucepan
Ingredients
- 4 large eggs separated
- 1/2 + 1/3 cup granulated sugar divided
- 1 teaspoon vanilla extract
- 1/2 cup all-purpose flour
- 1/3 cup unsweetened cocoa powder
- 1/2 teaspoon baking powder
- 1/4 teaspoon baking soda
- 1/8 teaspoon salt
- 1/3 cup water
- 8 ounces cream cheese
- 1/4 cup butter
- 1 cup powdered sugar
- 1/2 teaspoon peppermint extract
- 20 starlight mint candies crushed
- 1/2 cup heavy whipping cream
- 1 cup semi-sweet chocolate chips or 3 oz. semi-sweet baking chocolate
- starlight mint candies crushed for topping
Instructions
- Preheat oven to 375 degrees F. Grease a 15 x 10-inch jelly-roll pan; line with parchment paper. Grease and flour paper.
- Beat egg whites in large bowl until soft peaks form; gradually add ½ cup granulated sugar, beating until stiff peaks form.
- Beat egg yolks and vanilla in medium bowl on medium speed of mixer 3 minutes. Gradually add remaining ⅓ cup granulated sugar; continue beating 2 additional minutes.
- Stir together flour, cocoa, baking powder, baking soda and salt; add to egg yolk mixture alternately with water, beating on low speed just until batter is smooth.
- Gradually fold chocolate mixture into beaten egg whites until well blended. Spread batter evenly in prepared pan.
- Bake 14 to 16 minutes or until top springs back when touched lightly in center and a toothpick inserted comes out clean.
- Allow cake to cool in the pan for ONE minute.
- Lift the parchment paper and hot cake out of the pan and onto a flat (heat-safe) surface. Immediately, while the cake is hot, starting at one of the short ends, use your hands to gently and slowly roll the cake (and parchment paper!) all the way up.
- Allow the rolled up cake to cool completely, on top of a wire cooling rack. (Setting it on a wire rack allows it to cool underneath the roll, and keeps the cake from sweating).
- Transfer to the fridge to cool for an additional 30 minutes.
- While the cake roll is cooling in the fridge, mix the cream cheese, butter, powdered sugar and peppermint extract together with an electric mixer until fluffy and smooth.
- Gently stir in desired amount of crushed peppermint candies, to taste. Save a handful for sprinkling on the ganache, at the end, if desired.
- Once the cake roll is cooled completely, unroll it very carefully. Gently smooth the filling in an even layer over the cake.
- Roll up the cake, without the parchment paper. (If you see it start to stick at all to the paper you can use a butter knife gently scrape along the bottom edge of the cake as you roll it up, to help release it.)
- Cover with plastic wrap and refrigerate for at least 1 hour.
- Heat heavy cream in a saucepan until hot. Pour over chocolate and stir continuously until the chocolate is melted and smooth.
- Allow the ganache to cool for several minutes to give it time to thicken up a little.
- Gently spoon/pour the chocolate ganache over the top of the peppermint roll. Sprinkle additional chopped peppermint candy on top, if desired.
- Refrigerate for at least 20 minutes before serving.
- Store in the fridge, covered, for up to three days.
Notes
To freeze: Prepare the cake roll completely, with the filling but do not add the ganache. Freeze for up to 2-3 months. Thaw overnight in the refrigerator before adding the ganache and then slicing and serving.
Leave a Reply