
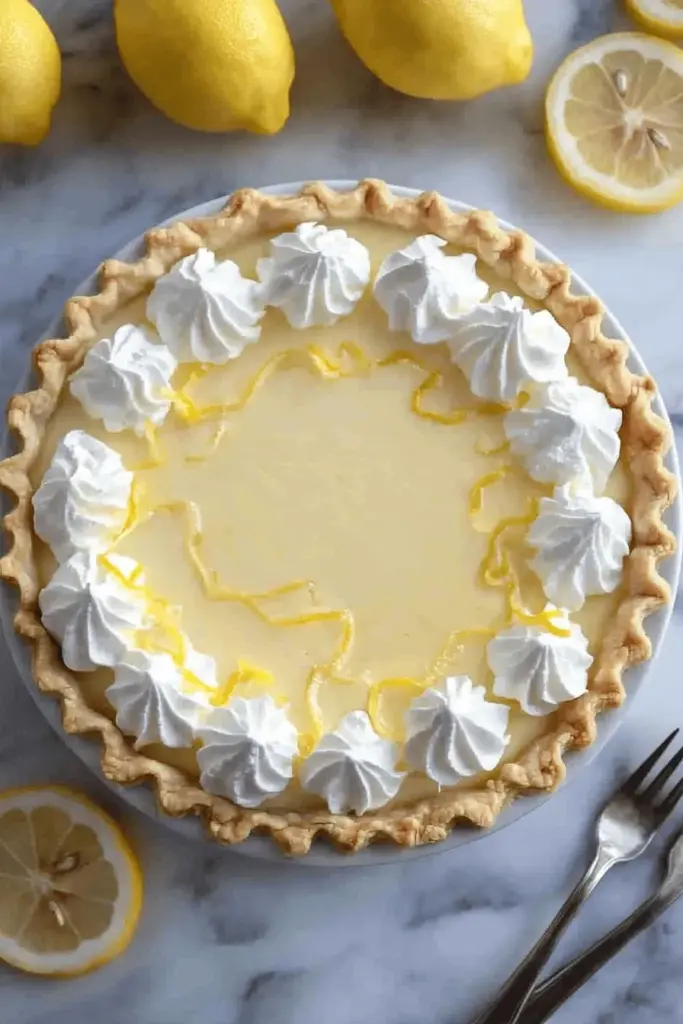
This treasured lemon chiffon pie recipe has been passed down through generations in my family, dating all the way back to the 1800s! It’s everything you dream of in a perfect spring or summer dessert – silky smooth, cloud-like texture with the perfect balance of bright lemon flavor. Unlike denser lemon pies, this one practically floats off your fork with its ethereal lightness. Best of all? It comes together with simple pantry ingredients you likely already have on hand!
Why You’ll Love This Lemon Chiffon Pie
- Ultra-creamy texture that melts in your mouth
- Perfect balance of sweet and citrus – not too tart!
- Made with basic kitchen staples
- No fancy equipment needed
- Make-ahead friendly for entertaining
- Show-stopping dessert that’s actually simple to make
- Pairs beautifully with fresh whipped cream
When I was growing up, this pie was the star of every holiday gathering. My grandmother would make it for Easter, Thanksgiving, Christmas – really any excuse she could find! The moment that ethereal lemon filling hit the table, topped with pillowy clouds of fresh whipped cream, everyone’s eyes would light up. There’s just something magical about the way the beaten egg whites transform the rich lemon curd into this impossibly light, almost soufflé-like texture.
What makes this recipe extra special is how the filling comes together in layers of flavor. First, we create an intensely lemony base, brightened with both fresh juice and zest. Then, we carefully fold in those glossy peaks of whipped egg whites, which create that signature chiffon texture we’re after. The key to success is taking your time with the folding process – be gentle but thorough to maintain all that wonderful airiness.
I’ve tested this recipe countless times over the years (tough job, I know! 😉) and I’m excited to share all my tips and tricks to help you achieve the perfect lemon chiffon pie in your own kitchen. Get ready to start a new family tradition!
Essential Ingredients for a Perfect Chiffon
Let me walk you through each ingredient that makes this treasured family recipe shine. The magic lies in how these simple components work together to create that signature light-as-air texture!
- Fresh Lemons: The star of our show! You’ll need both juice and zest. While you could use bottled juice, fresh lemons make all the difference here. The oils in the zest contain intense lemon flavor that you just can’t get from juice alone. I find 2-3 medium lemons usually give me the perfect amount.
- Eggs: We’re separating these into yolks and whites, and each plays a crucial role. The yolks enrich the filling and create that silky smoothness, while the whites, when beaten with sugar, create that ethereal chiffon texture we’re after.
- Butter: Please use real butter here! It adds richness and helps create that melt-in-your-mouth sensation. I’ve tested with margarine and it’s just not the same.
- Cornstarch: This is our thickening hero. It helps stabilize the filling and creates that perfect sliceable texture. Don’t worry – when mixed properly, there’s no starchy taste at all!
Success Tips for Foolproof Results
After making this pie hundreds of times (seriously!), I’ve learned a few crucial tricks that make all the difference:
- Master the temper: When adding hot filling to egg yolks, go slowly! Add just a spoonful at first, stirring constantly. Rush this step and you’ll end up with scrambled eggs instead of silky filling.
- Watch your whites: Beat egg whites until they form glossy peaks that hold their shape but aren’t dry or grainy. Your whites are perfect when you can turn the bowl upside down and they don’t slip out.
- Perfect your fold: Use a rubber spatula to gently fold the whites into the filling using a figure-8 motion. Too rough and you’ll deflate all that wonderful air; too gentle and you’ll have white streaks.
- Chill properly: Give your pie at least 2 hours in the fridge to set up. I know it’s tempting to dig in sooner, but patience rewards with perfect slices!
Remember, the filling should be cooled but still warm when folding in those egg whites – this helps prevent the filling from becoming lumpy or separating. Trust me, these little details make the difference between a good pie and an absolutely heavenly one!
Step-by-Step Lemon Chiffon Pie Instructions
Let me guide you through creating this cloud-like pie, step by smooth step! The process might seem fancy, but I promise it’s completely manageable – even if you’re new to homemade pies.
Creating the Lemon Base
- Start by combining 1½ cups water, fresh lemon juice, salt, 1 cup sugar, and butter in a large saucepan. Bring this mixture to a gentle boil over medium heat, stirring occasionally.
- While that’s heating, whisk your cornstarch with ½ cup water in a small bowl until completely smooth – this prevents any lumps from forming in your filling!
- Once boiling, stream in your cornstarch mixture while whisking constantly. Keep stirring until the filling becomes thick and glossy, about 2-3 minutes. You’ll know it’s ready when it coats the back of a spoon.
The Art of Tempering Eggs
Here’s where we need to be extra careful! We’re going to transform those egg yolks into silky smoothness:
- Beat your egg yolks in a medium bowl until smooth
- Take a ladleful of hot lemon mixture and slowly drizzle it into the yolks while whisking vigorously
- Repeat with 2-3 more ladlefuls until the egg mixture feels warm
- Pour this warmed egg mixture back into your saucepan, whisking constantly
Creating That Signature Chiffon Texture
Here’s my favorite part – where the magic happens!
- Beat those egg whites until foamy, then gradually add remaining ½ cup sugar
- Continue beating until you get glossy, stiff peaks – if you lift your beater, the peaks should stand tall!
- Gently fold whites into your cooled lemon mixture using a figure-8 motion
- Pour into your pre-baked pie crust and chill for at least 2 hours
Creative Serving Ideas & Variations
While this pie is absolutely perfect in its classic form, here are some fun ways to make it your own:
Topping Options
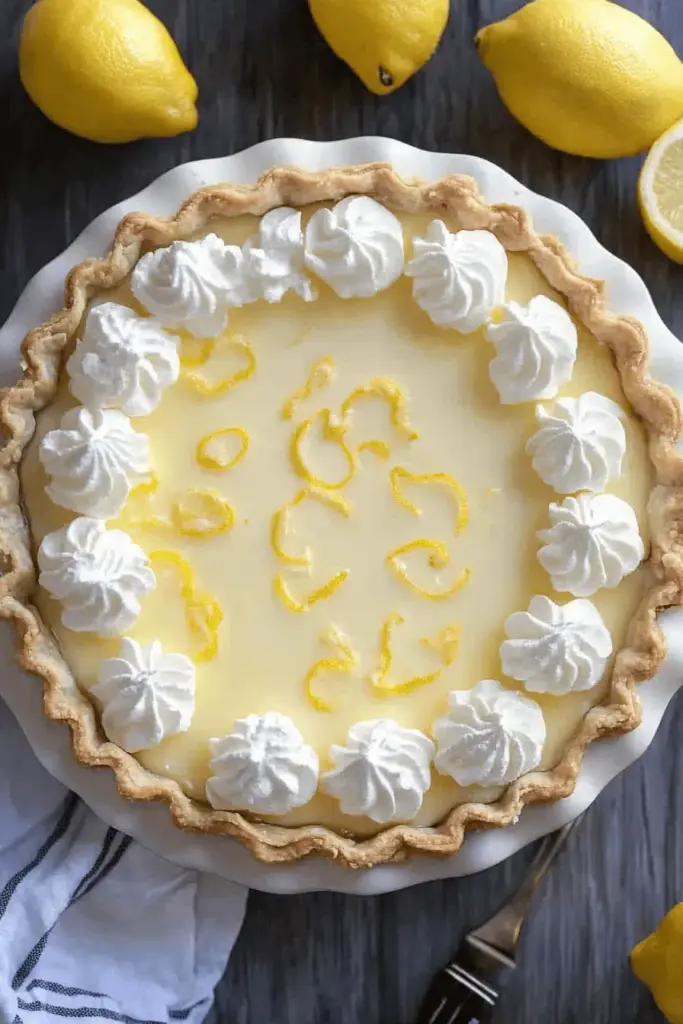
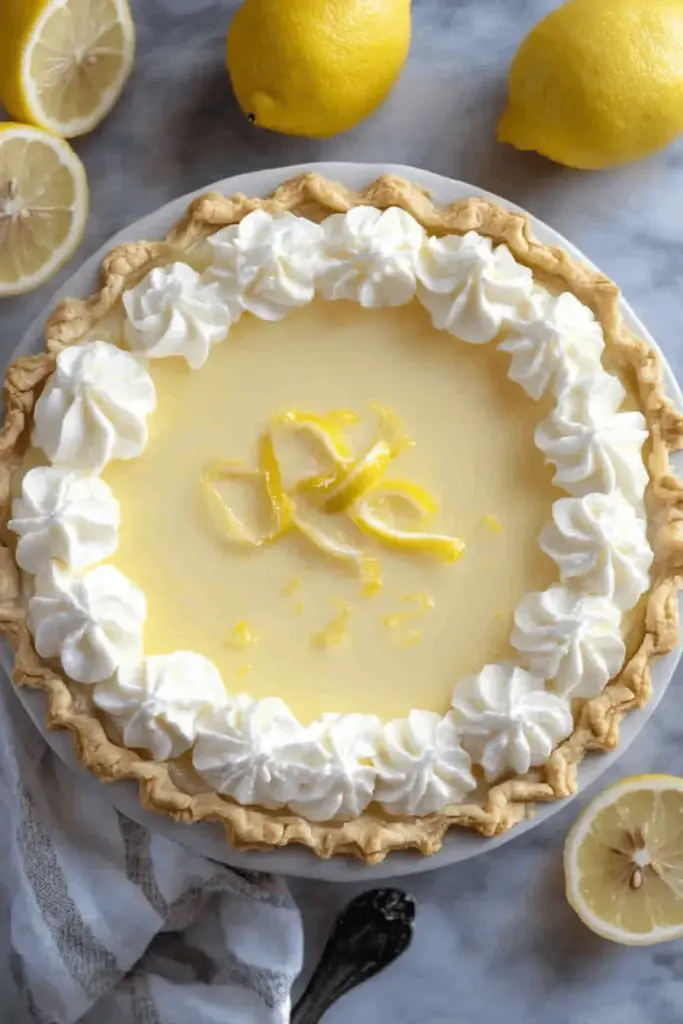
- Classic Whipped Cream: My go-to is freshly whipped cream with a tiny splash of vanilla
- Citrus Garnish: Paper-thin lemon slices or candied lemon peel
- Berries: Fresh raspberries or strawberries add beautiful color contrast
Make-Ahead Tips
This pie actually gets better after a night in the fridge! You can make it up to 2 days ahead, but wait to add any toppings until just before serving. Cover gently with parchment paper rather than plastic wrap to protect that beautiful surface.
Pro Tip: If you’re serving this at a party, consider making individual mini pies in tart shells – they’re adorable and perfect for buffet-style serving!
FAQs & Final Thoughts
You can make this lemon chiffon pie up to 2 days in advance! Just keep it covered in the refrigerator with parchment paper (not plastic wrap). Add the whipped cream topping right before serving for the best presentation and texture.
Lumpy filling usually happens when the egg whites aren’t properly folded in or the lemon base was too cool before folding. Make sure your lemon base is still slightly warm (not hot!) when incorporating the egg whites, and use gentle, thorough folding motions.
While fresh lemons are strongly recommended for the best flavor (especially since you need the zest anyway!), you can use bottled lemon juice in a pinch. Just make sure it’s pure lemon juice without any added sweeteners.
The most common reason for a loose filling is undercooked cornstarch mixture. Make sure you cook it until it’s nicely thickened and coats the back of a spoon. Also, give it the full 2 hours (or more!) of chilling time.
Final Thoughts
You know what makes me smile? When someone tries this cherished family recipe and tells me it brought back memories of their own grandmother’s baking. This lemon chiffon pie isn’t just dessert – it’s a little piece of happiness that’s been bringing joy to my family for generations.
I’d absolutely love to hear how this recipe turns out in your kitchen! Every time I make it, I think about all the special moments it’s been part of – from casual Sunday dinners to holiday celebrations. There’s something magical about keeping these time-tested recipes alive and sharing them with new bakers.
If you’re feeling inspired by this pie’s success, why not try your hand at some of my other family favorites? My Coconut Cream Pie or Classic Banana Cream Pie would be wonderful next steps in your pie-baking journey. Remember, baking is all about practice and patience – and enjoying every delicious moment along the way!
Happy baking, friends! 🍋✨

LEMON CHIFFON PIE
Equipment
- Pie Pan
- Hand mixer
Ingredients
- 1 9 inch baked pie shell
- 1.5 cups water
- 0.5 cup lemon juice
- dash salt
- 1.5 cups granulated sugar divided
- 0.5 cup butter
- 5 Tablespoons cornstartch + ½ cup water
- 3 large eggs yolks and whites separated
- lemon zest from one small lemon
- fresh whipped cream for topping
Instructions
- Add 1 ½ cups water, lemon juice, salt, 1 cup sugar, and butter to a large saucepan. Bring mixture to a boil.
- While waiting for mixture to boil, stir cornstarch and ½ cup of water together in a small bowl. Stir into saucepan and turn heat to low. Cook until thickened.
- Separate the egg yolks and whites into two separate bowls. Beat the egg yolks with a fork.
- Add a large spoonful of the hot mixture from the saucepan, to the egg yolks and stir well. Continue slowly adding a few more spoonfuls, stirring after each addition to temper the eggs.
- Add the tempered egg mixture to the saucepan. Remove from heat and stir in lemon zest. Allow to cool for 10-15 minutes.
- Beat the egg whites with electric beaters. Slowly add ½ cup sugar as you go. Beat until stiff peaks form.
- Fold egg whites into the mixture in the saucepan.
- Pour filling into cooled pie shell. Chill in refrigerator for at least 2 hours. I like to place a piece of wax or parchment paper gently over the top of the pie (if you use plastic wrap or tinfoil it will pull some of the topping off when you remove it).
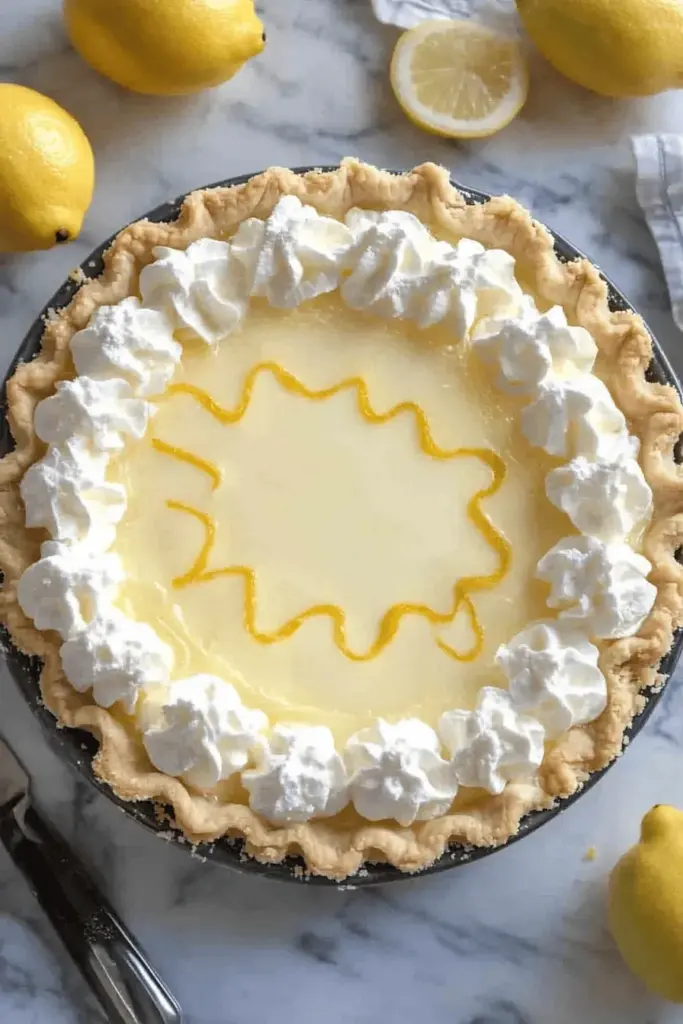
- Top with freshly whipped cream.
Leave a Reply